

How To Make Iron On Transfers With Wax Paper
This post is sponsored by Graphic Stock. Equally e'er, all opinions are 100% my ain.
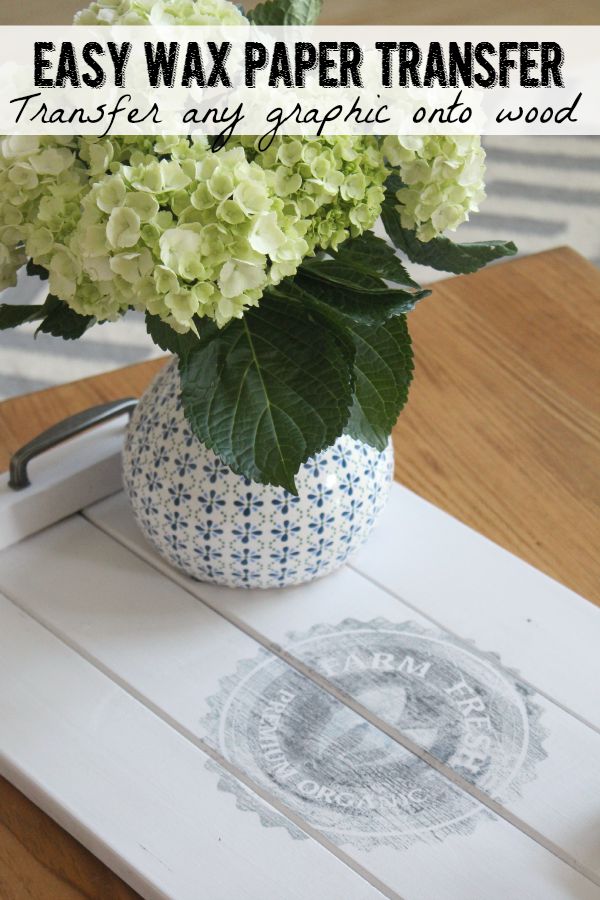
Hey guys! Today I wanted to bear witness you how to transfer images using wax newspaper. It's a fun and piece of cake DIY project with limitless possibilities! With just a few steps you tin can quickly transfer any printable epitome to wood {or whatever other hard surface} using wax paper and your regular ink jet printer. Pretty cool, eh?
I promise that this is a super easy tutorial that anyone tin practice! The steps may await a niggling long, but they actually merely take a few minutes. Allow's get going!
- Beginning yous need to choose something to transfer an image as well – any hard surface will work but I especially love doing this with more than rustic wood pieces. Wooden crates or trays, sometime wooden cutting boards, or table tops work perfectly, but obviously you probably want to go out your favorite antiques alone!
-
Next it is time to head on over to Graphic Stock and selection a graphic. With over 250,000 images to choose from this is seriously the hardest part of the project! Use the search bar on the pinnacle of the folio to narrow down your choices and you will before long notice a ton of cute images to cull from. Once y'all sign upwardly for your free 7 24-hour interval trial you can download up to 20 images per twenty-four hours – that is 140 gratis graphics of your selection! You lot can then choose to roll over onto a monthly unlimited plan or cancel your membership and still keep your images . Delight notation though that y'all will need to brand sure to abolish if you do not wish to keep going with their monthly plan or y'all will be automatically billed. I take been a member since last October {without any sponsored affiliations} so I can honestly say that I beloved them and have used their graphics for many unlike types of projects.
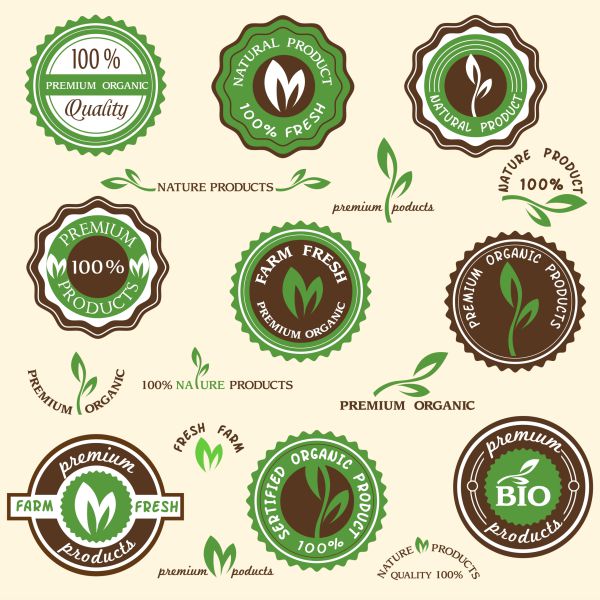
- I wanted a farmhouse feel for this project, and so I used a DIY wooden tray {tutorial coming shortly!} and chose these cute organic nutrient labels from Graphic Stock. You can choose to download the images every bit a JPEG, PNG, EPS or PDF. Since I just wanted to use 1 of the labels, I downloaded mine in JPEG format and cropped my image {I will show you how in PicMonkey but you lot can utilize any photo editing program}. If y'all have Adobe Illistrator, you tin download the EPS file to choose your image.
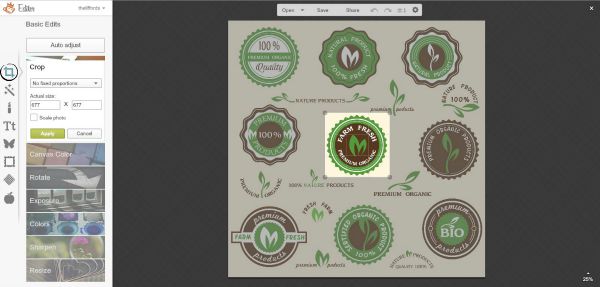
- For those of you that are using a JPEG, you volition need to go to PicMonkey {or whatever photo editing programme you are using}, click on edit, and open your saved JPEG file. You then need to click on the Basic Edits {square box} in the left side bar and choose crop. Drag the cursor over the paradigm that you would like making sure that you are isolating information technology from the other images. Think that you will be reducing the epitome size and so you don't desire to get too small. If your image is slightly blurry, y'all tin can always click on Acuminate to increase the crispness a little.
-
For this projection, you will need to impress your image as a contrary paradigm. To opposite your image, click on Rotate over on the left side bar and so click on the two horizontal arrows.
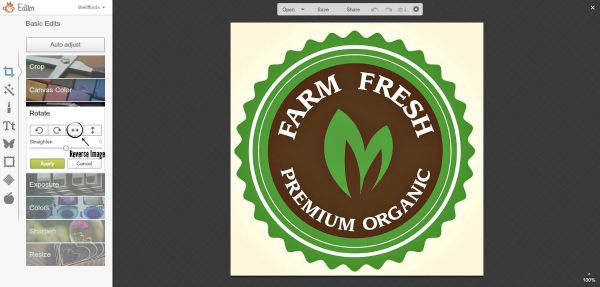
- In one case you lot take the contrary prototype, just click Save {just to a higher place the epitome} and you are ready to get going with your projection!

- Cut some wax newspaper to 8 ane/2 x 11 and use a picayune tape on each end to adhere it to a regular 8 1/2 x 11 sheet of newspaper {this will help to prevent the wax newspaper from jamming your printer}. I cull to impress mine in black and white rather than colour and did take to unclick the "fit paper to size" push since I was using a square image. To print, just load the layered wax newspaper straight into the printer {for our printer the wax paper was placed face down} and gently guide the newspaper out equally the image prints.
-
To help the image transfer better to the forest, y'all want the woods slightly wet. If it is too wet it volition cause the epitome to run so don't go crazy with your water. To become but the correct amount of moisture, I misted gently with a spray bottle and and then lightly ran a rag over the forest so the mist was distributed evenly.
-
Place the wax paper over the stool and utilise a credit menu or other flat edge to burnish the image on. The most important thing is to make sure that the paper does not move, but I plant that with the woods slightly wet, the paper actually stuck quite nicely. Exist sure to go over the entire epitome using equal pressure then advisedly remove the wax paper.
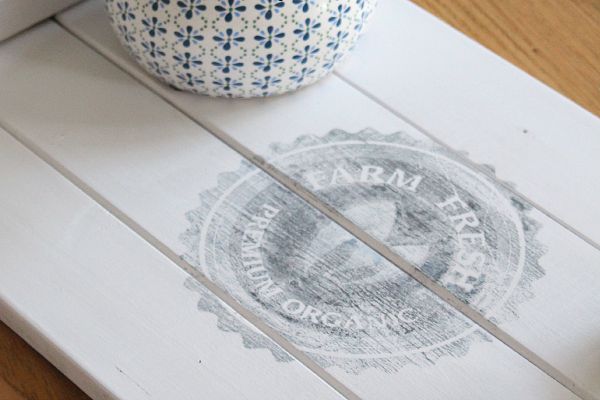
- Once the ink has dried, you can requite information technology a lite sanding if y'all want a more than rustic feel or paint or fill in with a sharpie if you wanted a more solid look. If your project needs to withstand some heavier wear and tear, be certain to seal information technology. A spray sealer {I like Krylon} works best as waxing or a liquid sealer can cause some running of the ink. Spray in light coats and don't spray likewise close to the epitome transfer.
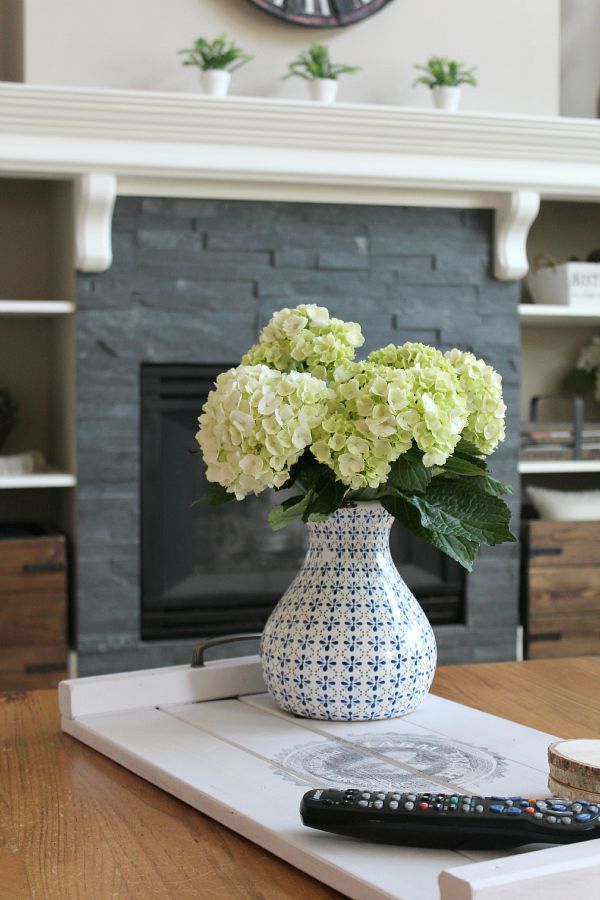 The tray works great on a coffee table or to hold magazines and is perfect for entertaining.
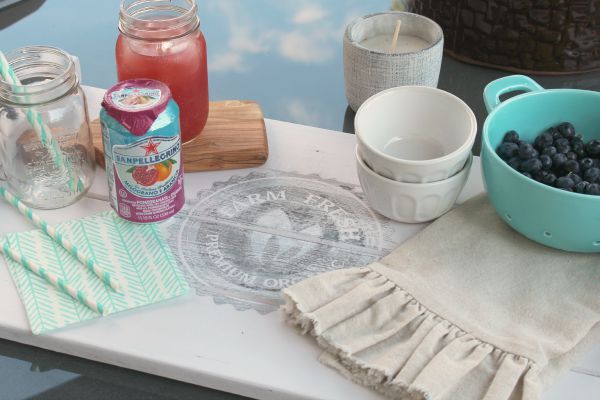
This technique is such an inexpensive way to transform your bones pieces or thrift shop finds and makes a beautiful gifts for family unit and friends! I promise you have fun with it!
To become some amazing graphics, don't forget to head on over to Graphic Stock for your free 7 day trial. The images can be used for crafts, home decor projects, labels, scrapbooking, gift wrapping, then much more! Here are but a few more of my many favorites…
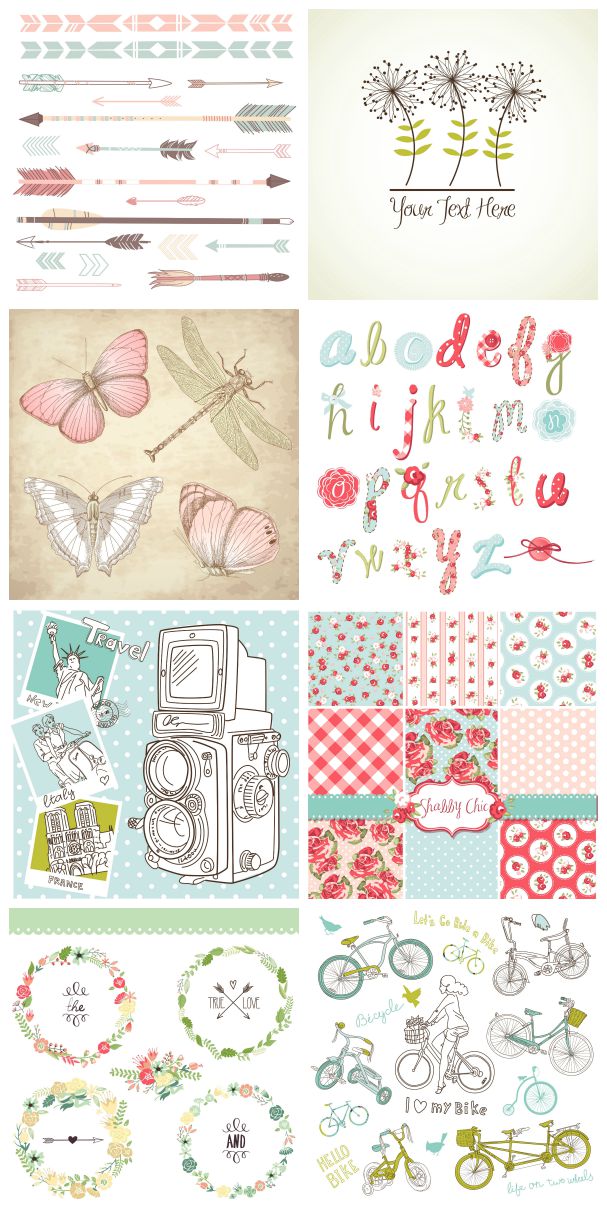
The images are all royalty complimentary so you are able to keep them and use them forever!


Source: https://www.cleanandscentsible.com/how-to-transfer-images-using-wax-paper/
Posted by: wiggspitions.blogspot.com
0 Response to "How To Make Iron On Transfers With Wax Paper"
Post a Comment